Setting up a remote development environment
April 18, 2020
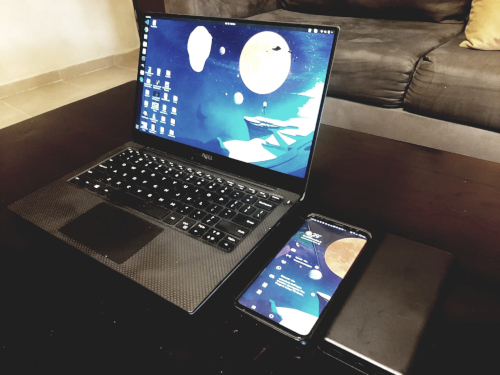
One of the inconveniences of being a remote worker in the Dominican Republic is that there's always a chance of power outage.
So far I have solved this problem by having a power inverter, batteries and a UPS to power most of my devices, but there have been times that these power outages have outlasted my batteries life so I have to rely on my laptop's battery.
While its battery is good, having achieved more than 6hrs of battery life while using the browser + wifi, the moment I have to do something serious I get less than 2 hours of battery life, specially when I use Electron apps like Visual Studio Code and Discord.
There's been also occasions when I'm not in my home and I still want to work, and there is no power outlets available.
What I tipically do in these cases is:
- Use my cell phone as a mobile hotspot (I have an unlimited data plan),
- Connect my phone to a portable charger
- Close unused / non-critical applications (i.e. I'll run Skype and Discord on my phone instead of my laptop),
- Code on Vi instead of VS Code.

This increases my battery life to an acceptable 3hrs, but lately I've been exploring on having a remote development environment instead of running everything on my local machine, increasing my battery life in the meantime. Let's dive in on my current setup.
Generating a local SSH key
We'll connect to the remote server via SSH. There are two ways to do it: the insecure way, using a password, or the secure way: an SSH key. I'll use this method.
Start by generating a keypair in your local machine with ssh-keygen (read more about this command here)
ssh-keygen
You'll be prompted for the directory where to store the key (press enter to use the default), and an optional passphrase.
Generating public/private rsa key pair.Enter file in which to save the key (/home/myuser/.ssh/id_rsa):Created directory '/home/test/.ssh'.Enter passphrase (empty for no passphrase):Enter same passphrase again:Your identification has been saved in /home/test/.ssh/id_rsa.Your public key has been saved in /home/test/.ssh/id_rsa.pub.The key fingerprint is:SHA256:zl7DAyCXl+que2+9djnhdHdNGxa65idRwb417RyMxlM test@laptopThe key's randomart image is:+---[RSA 2048]----+| . *E || * *.|| . o.B|| .*.|| B. . ooo+|| .oo.o o o+=|| oBo.. . +B|| . .ooo o=B|| .o++.++o=|+----[SHA256]-----+
This will generate two files: ~/.ssh/id_rsa (your private key, do not share this file), and ~/.ssh/id_rsa.pub (the public key). We'll use the content of this file when creating the remote environment.
It's also a good idea to backup these files
Creating your remote machine
After looking at different cloud providers, I ended up choosing DigitalOcean. There are other alternatives available like AWS or Azure. Setting up my remote development environment, I found there aren't many differences between providers except for cost. The first step is to go to digitalocean.com, and after creating an account, we need to create a droplet. I'm using Ubuntu 19.10 x64, with 8GB of ram and 4 CPUs. At the moment of writing, the cost is 40 USD/Month.

For increased security, the authentication method used will be "SSH keys".
Add your previously created public SSH key by copying the content of the file ~/.ssh/id_rsa.pub.
# You can copy the content of the file from the terminalcat ~/.ssh/id_rsa.pub# Or copy the content of the file to the clipboardxclip -selection clipboard ~/.ssh/id_rsa.pub`
Set the hostname, and click on Create Droplet, and wait until your droplet has been created.

Initial setup of your remote machine
We need to create an user that we will to use to setup our development environment. This user will also have the same authorized key to only allow login into this server with this user from our local machine. This user will also be part of the sudo group.
adduser myuserusermod -aG sudo myusermkdir ~myuser/.sshcat ~/.ssh/authorized_keys >> ~myuser/.ssh/authorized_keyschown -R myuser:myuser ~myuser/.ssh/
We'll set up a basic firewall with only SSH access.
ufw allow OpenSSHufw enableufw status
After executing the previous command, you will see the following output:
Status: activeTo Action From-- ------ ----OpenSSH ALLOW AnywhereOpenSSH (v6) ALLOW Anywhere (v6)
In your local machine, edit the file ~/.ssh/config and add the following content (replace <ip-address> with the IP address of the droplet):
Host remote-devHostName <ip-address>ServerAliveInterval 60ServerAliveCountMax 10User myuserIdentityFile ~/.ssh/id_rsa
You should be able to connect with your new user by using
ssh remote-dev
Notice that we did not have to use root@<ip-address> thanks to the setup we made in ~/.ssh/config.
Dotfiles, Packages, and Docker
Install common tools and configurations. It's a good moment to use your .dotfiles. There are some packages I usually install in all my machines:
sudo apt updatesudo apt install curl htop tmux build-essential net-tools git gpg
Neovim and Docker can also be installed in this step
# Neovimcurl -LO https://github.com/neovim/neovim/releases/download/stable/nvim.appimagechmod u+x nvim.appimagesudo mv ./nvim.appimage /usr/bin/nvimpip3 install neovimecho "alias vim=nvim" >> ~/.bash_aliasesecho "alias vi=nvim" >> ~/.bash_aliasessource ~/.bash_aliases
# Dockersudo apt-get install -y \apt-transport-https \ca-certificates \gnupg-agent \software-properties-commoncurl -fsSL https://download.docker.com/linux/ubuntu/gpg | sudo apt-key add -sudo add-apt-repository \"deb [arch=amd64] https://download.docker.com/linux/ubuntu \disco \stable"sudo apt updatesudo apt install -y docker-ce docker-ce-cli containerd.iosudo docker run hello-world
Install your development environment
This will depend on the tools/languages you use for development. i.e. the following commands would install a Node.js environment on your remote machine with the latest LTS version, using nvm (Node Version Manager), and the `yarn package manager.
curl -o- https://raw.githubusercontent.com/nvm-sh/nvm/v0.35.3/install.sh | bashsource .bashrcnvm install --ltscurl -sS https://dl.yarnpkg.com/debian/pubkey.gpg | sudo apt-key add -echo "deb https://dl.yarnpkg.com/debian/ stable main" | sudo tee /etc/apt/sources.list.d/yarn.listsudo apt update && sudo apt install yarn
VS Code on your browser
Neovim is my default editor of choice, but for some projects I prefer to use Visual Studio Code. So far, the only problem I have found with it is how many resources it uses, thus reducing my machine's battery life. I'm experimenting with code-server, which let's you install VS Code in the server and run an instance in the browser.
wget https://github.com/cdr/code-server/releases/download/3.1.1/code-server-3.1.1-linux-x86_64.tar.gztar xvfz ./code-server-3.1.1-linux-x86_64.tar.gzcd code-server-3.1.1-linux-x86_64/chmod u+x code-server
We also need to open the port 8080 in our firewall:
sudo ufw allow 8080/tcp
To start the server,
./code-server --port 8080 --host 0.0.0.0
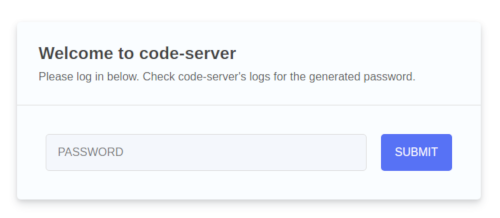
Executing this command will print information about the service, including the password for accessing the editor:
info code-server 3.1.1 28e91ba70cd70fa9adf3f2e3e3b87631b5667ecfinfo HTTP server listening on http://0.0.0.0:8080info - Password is ABCDEF0123456ABCDEFinfo - To use your own password set the PASSWORD environment variableinfo - To disable use `--auth none`info - Not serving HTTPSinfo Automatic updates are enabledinfo SSH server listening on localhost:42663info - To disable use `--disable-ssh`

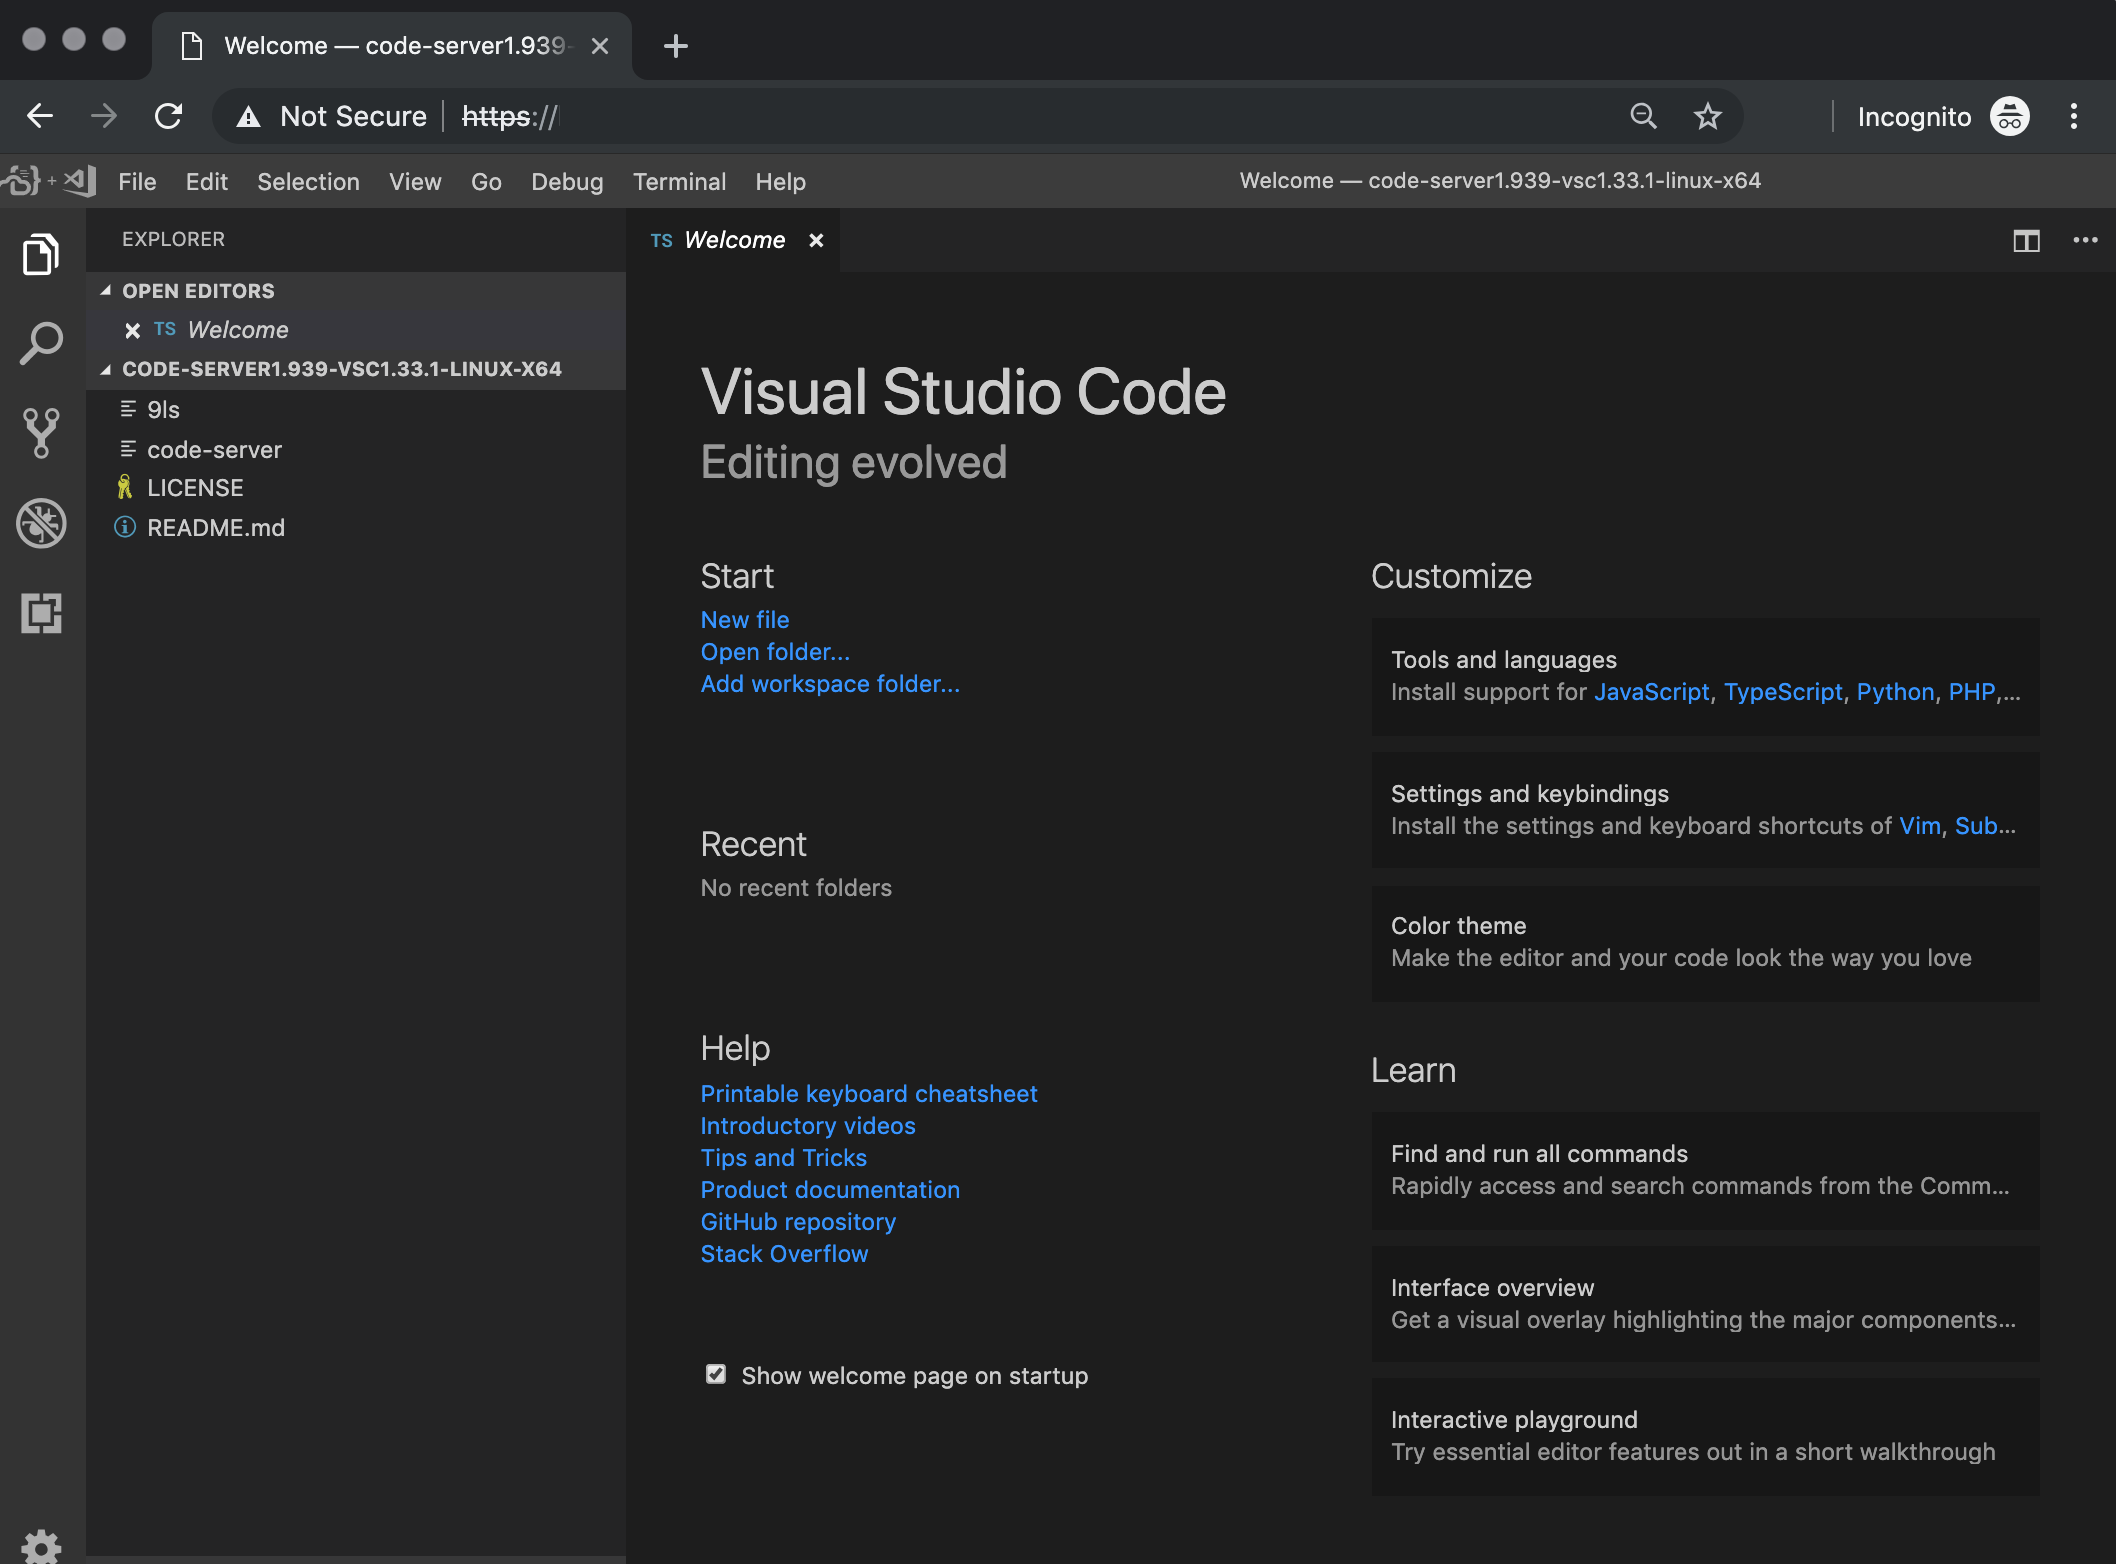
In a browser, open the URL http://your-server-ip:8080 and enter the password.

The editor will display the following message:
code-server is being accessed over an insecure domain. Web views, the clipboard, and other functionality will not work as expected.
This can be fixed by using a reverse proxy, and assigning a domain to this server and a certificate (You can obtain one from https://letsencrypt.org/). I still haven't configured this, so I'm not sure of its implications.
Remote development with VS Code on your local machine
You can develop with VS Code on your local machine connected to your remote environment, by installing the Remote Development extension

Once it's installed, in the menu on the left you'll see a new option that once selected will let you connect to the remote server you defined in ~/.ssh/config and also edit this file.
Right-click remote-dev in the list and select Connect to host in New Window.
In this new VS Code window you'll be able to open folders and files on your remote server to edit, as well as executing commands on the VS Code terminal that will be connected to this server too.
On this window you'll also be able to forward ports on your remote environment to your local machine in case you want to access a service on that machine.
Reducing costs.
Having a remote dev environment it's not cheap (depending on your income). The droplet selected has a monthly cost of 40 USD, for a server running 24/7, compared to only using your local machine. I don't use that remote environment that much, so I want to be billed only for the time I'm using my machine.
Powering off a droplet is not enough, since you're still being billed for it (there are resources associated to it like the IP Address and Storage so it makes sense to be still billed for this machine). DigitalOcean provides a way to reduce that cost by using the snapshot functionality.
You must power off your machine, and then, in the your droplet menu, select "Snapshots", and click on "Take live snapshot".
After your snapshot is created, in the droplet menu, select "Destroy", and then click on "Destroy this Droplet".
You'll be billed from now on only for the snapshot storage ($0.05/GB/mo). If you followed this guide, that's 8 USD per month assuming you don't use that machine in the last month. You save 32 USD!
To restore the snapshot, Create a new droplet, and select "Snapshots" and the snapshot you created. Choose the same plan configuration (8GB/4CPU), hostname, and then create the droplet.
You'll end up with a machine containing the same configuration you created, but with a new IP address. Remember to edit ~/.ssh/config to replace the old droplet IP with this new address.
Final thoughts
Setting up this remote environment is a nice exercise and requires a minimal time investment. I believe it was worth it because it allowed me to have an alternative fore when the resources on my local machine are limited. (I could even use an iPad as a local machine if I wanted to with this configuration).
My workflow does not change much: the moment I have to go off-the-grid, I set my cellphone as hotspot, connect my laptop to it, push to Github my work, close everything, open a terminal and ssh into my remote environment, and pull my latest changes and continue working "normally". Switching environments takes less than 3 minutes so there's not much time wasted.
I'm still not sure yet about using this setup to work 100% on it, mainly because I don't think it's a definitive solution for some use cases, like mobile development, but it could work for the development of web apps and decentralized applications.
In a second part of this post I'll detail this configuration and comment on my results. I expect code-server to be beneficial for my use case, since most of the heavy lifting will be executed in the server instead of my machine, meaning fewer resources used when I'm being mobile. There's also some lag when files are saved, but nothing that would affect my productivity (results might vary).
There are some things I want to explore to improve this setup: using Terraform and Nix for the automatic provisioning and setup, but for now, I'm happy with this configuration